Replacing the Drain Valve

|
To avoid electrical shock or property damage, disconnect power before installing or servicing equipment. A qualified technician must perform the service procedures. |

|
HOT WATER To avoid burns, use PPE when handling overflow tube and draining unit. |

-
Open drain valve and empty water pan into a shallow pan or floor drain.
-
Remove all doors and racks from unit and carefully lay the unit on its back.
-
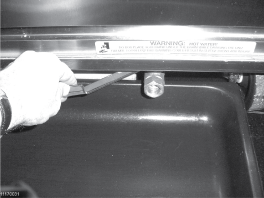
Loosen hose clamp on water hose and pull hose from water pan.
-
Turn drain valve handle to open position (pointed outwards).

-
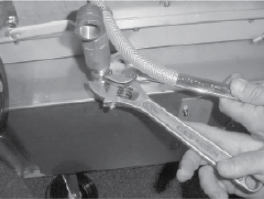
Using 2 wrenches, turn drain valve counterclockwise, while holding fitting behind it. Remove drain valve assembly from unit. Full size units continue to Step 8.
-
Remove elbow from valve. (1/2-size units only)
-
Put pipe sealant on threads of elbow and install elbow in new drain valve. (1/2-size units only)
-
Put pipe sealant on threads of fitting, and install new drain valve assembly onto fitting.
Unit is now ready for use.
Related Content
Calibrating and Replacing the Humidity Sensor
Replacing the Water Heater High Limit
Replacing the Water Valve Solenoid (Auto-fill Units)
Cleaning the Water Strainer (Auto-fill Units)
HHC 98X Troubleshooting No Water, Float Switch Failed
HHC 98X Troubleshooting Water Level Low, Please Add Water
HHC-98X Troubleshooting the E-12 Water Heater Sensor Failed Error Code
HHC 98X Troubleshooting the E-17 Humidity Sensor Failed Error Code
Reference
